I started my 3D model by drawing grids since my model can be measured on grid. Then I started to draw polylines for wall in wall layer and started to offset and extrude them.

After that, I started to draw curve for floor and extrude it.


Later I started to draw staircase by drawing guiding lines and extrude them then move them to the position I wanted to place at.

The next thing I did is creating the frames. I drew box which fitted to the wall then create another box which is smaller as the inner frame. The smaller box is placed through the larger box. The larger box is split by using the smaller box. The smaller box is then trimmed to create frame.


Later, I started to do the second floor.

The second floor plan is drawn and extruded. It is then moved to place above the first floor.

Roof is drawn and extruded. The window frames and sliding door frames are created using the same method as stated as above.


After all, the window is drawn and placed into frames.
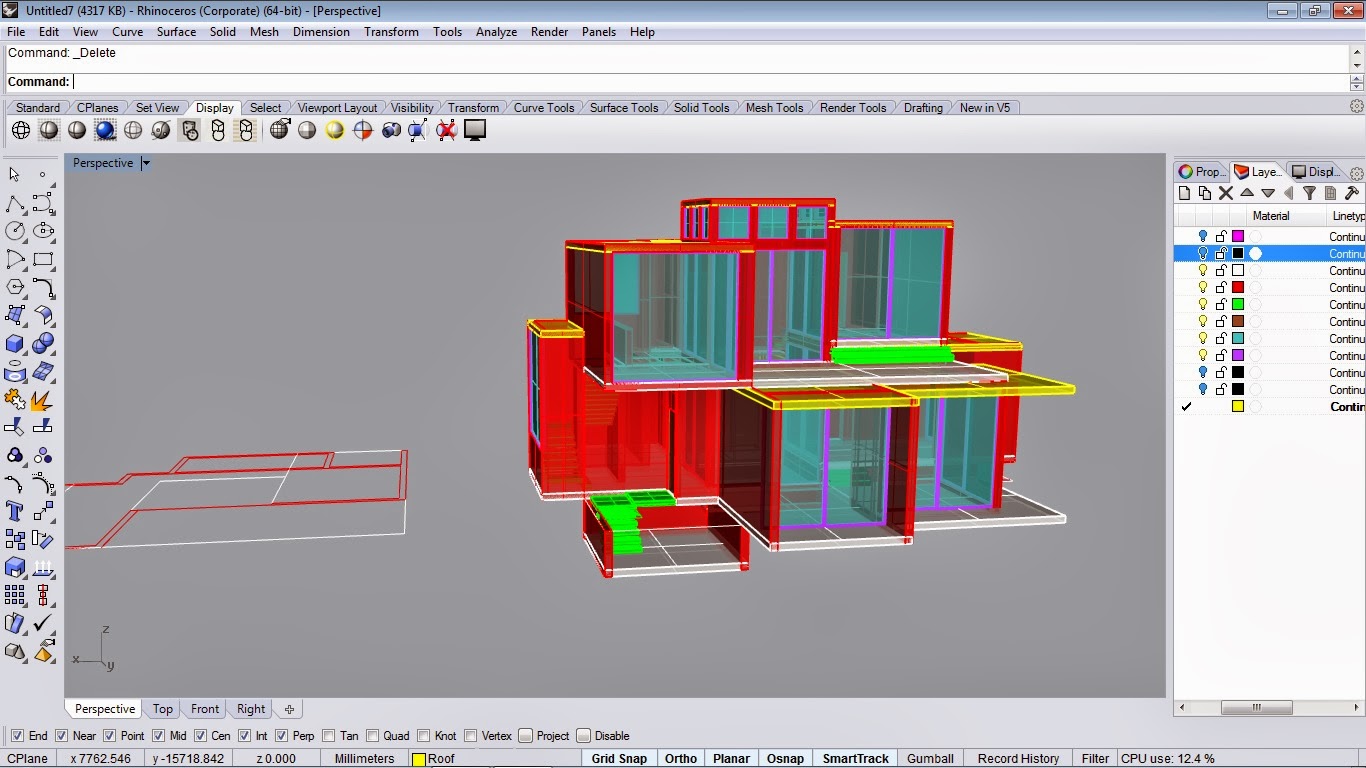
The view mode is changed to 'rendered'. The curves are hidden later. The white model used to look too simple and dull as the windows are all white. So I decided to apply materials on the windows so that the transparency allowed to look through into the interior.


After the model is done, I started to draw landscape for my model. I drew the contour and extruded them to certain heights. Then i drew a window on it with "grape" command. The landscape is done.

The model of the building is moved to place on the landscape.


A simple rendered version is done in Rhinoceros.

The last thing to do is to import the model done in Rhinoceros into 3ds Max for rendering.

I started to render the model with different views. However, the products look a bit dull. And since Mr Angus has taught us how to render with daylight so I decided to apply daylight in my final submission. The photos below are those which I did the rendering without daylight.


No comments:
Post a Comment